Difference between revisions of "Installing ChipWhisperer/Installing ChipWhisperer from Releases"
< Installing ChipWhisperer (Created page with "== Windows == Assuming you've got a working Python installation, the next step is to install & run ChipWhisperer itself. This requires you to get a copy of ChipWhisperer,...") |
|||
| (3 intermediate revisions by 2 users not shown) | |||
| Line 1: | Line 1: | ||
| − | + | Once you have a working Python installation, you're ready to install and run ChipWhisperer. | |
| − | + | ||
| − | + | First, download a ChipWhisperer release. You can get these from the [https://github.com/newaetech/chipwhisperer/releases/ Releases] page. Generally, the latest release is a good choice, but you might need an older version for various reasons. You want the source code in .zip or .tar.gz format - not a VMWare image. | |
| − | + | Next, uncompress your downloaded source code somewhere. Generally, 'somewhere' will become your ChipWhisperer working directory. For example, on Windows, you might want to use <code>C:\chipwhisperer\</code>. | |
| − | + | Once you've got the file, run the Python install procedure (setup.py). Use the ''develop'' command to indicate that the files will probably be changing frequently. to do this, open a terminal and run the following, adjusting paths as needed: | |
| − | + | ||
| + | <pre> | ||
cd c:\chipwhisperer\software | cd c:\chipwhisperer\software | ||
python setup.py develop</pre> | python setup.py develop</pre> | ||
| − | |||
| − | + | '''NB''': This assumes the python command links to Python-2.7, and not Python-3.x. You may need to specify either python2.7 or python27 as the command instead of python to force this. | |
| − | python | + | |
| − | + | ||
| − | + | ''In Linux, you might need to run this as root:'' | |
| + | <code>sudo python setup.py develop</code> | ||
| − | + | The installation is now finished. To confirm the installation worked, you can run ChipWhispererAnalyzer in the same terminal: | |
| − | + | <pre>cd c:\chipwhisperer\software\chipwhisperer\ | |
| − | + | python CWAnalyzer.pyw</pre> | |
| − | < | + | Alternatively you can just double-click on <code>CWAnalyzer.py</code>, which should run the file using Python, ''provided you've registered Python to execute the .py extension''. |
| − | + | ||
| − | + | ||
| − | + | ||
| − | + | ||
| − | + | ||
| − | + | ||
| − | + | ||
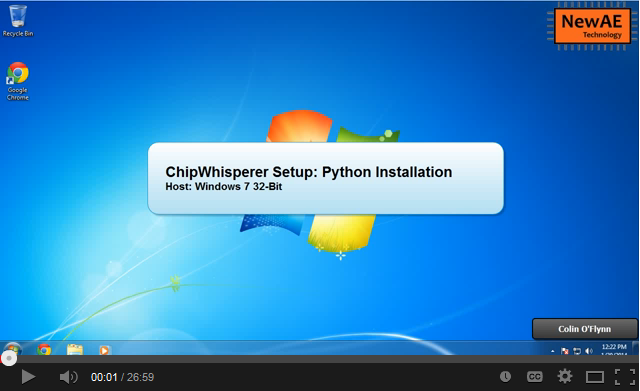
| − | + | You can see a [http://www.youtube.com/watch?v=qd86cUD8iBs&hd=1 Video] of the installation procedure: | |
| − | == | + | [[File:Youtube-win7-install.png|link=https://www.youtube.com/watch?annotation_id=annotation_749386927&feature=iv&src_vid=qd86cUD8iBs&v=BrLBH2y2R8A]] |
Latest revision as of 08:59, 19 May 2017
Once you have a working Python installation, you're ready to install and run ChipWhisperer.
First, download a ChipWhisperer release. You can get these from the Releases page. Generally, the latest release is a good choice, but you might need an older version for various reasons. You want the source code in .zip or .tar.gz format - not a VMWare image.
Next, uncompress your downloaded source code somewhere. Generally, 'somewhere' will become your ChipWhisperer working directory. For example, on Windows, you might want to use C:\chipwhisperer\.
Once you've got the file, run the Python install procedure (setup.py). Use the develop command to indicate that the files will probably be changing frequently. to do this, open a terminal and run the following, adjusting paths as needed:
cd c:\chipwhisperer\software
python setup.py develop
NB: This assumes the python command links to Python-2.7, and not Python-3.x. You may need to specify either python2.7 or python27 as the command instead of python to force this.
In Linux, you might need to run this as root:
sudo python setup.py develop
The installation is now finished. To confirm the installation worked, you can run ChipWhispererAnalyzer in the same terminal:
cd c:\chipwhisperer\software\chipwhisperer\
python CWAnalyzer.pyw
Alternatively you can just double-click on CWAnalyzer.py, which should run the file using Python, provided you've registered Python to execute the .py extension.
You can see a Video of the installation procedure:
